


Making of Lantern: From Concept to Glow
- Consider adding a handle to your lantern using wire or twine, making it easier to carry or hang.
- If you’re using a real flame, never leave your lantern unattended while lit, and keep it away from flammable materials.
- LED candles are a safer option, especially if you plan to use your lantern indoors or around children or pets.
With a few simple materials and a little creativity, you can make beautiful lanterns to brighten up your home or outdoor space. Happy crafting!
Making of Lantern: Step-by-step guide

Materials Needed:
- Empty glass jar (such as a mason jar or a recycled glass container)
- Tea light candle or LED candle
- Decorative paper or tissue paper
- Scissors
- Glue or Mod Podge
- Paintbrush
- Optional: ribbon, twine, or other decorative elements
Step-by-step guide
Step 1: Prepare Your Materials
Gather all the materials you’ll need for this project: a clean glass jar, decorative paper or tissue paper, scissors, a glue stick or Mod Podge, a paintbrush, and a tea light candle or LED candle.
Step 2: Measure and Cut the Paper
Measure the height and circumference of your glass jar. Use these measurements to cut your decorative paper or tissue paper to fit around the jar. You can choose any colors or patterns you like for your lantern.
Step 3: Apply Glue
Using a glue stick or Mod Podge, apply a thin, even layer of adhesive to the outside of the glass jar. Make sure to cover the entire surface where you’ll be attaching the paper.
Step 4: Wrap the Paper Around the Jar
Carefully wrap the cut paper around the jar, smoothing out any wrinkles or bubbles as you go. Press the paper firmly onto the glue, ensuring it adheres securely to the glass surface.
Step 5: Add Decorative Touches (Optional)
Get creative and add additional decorative elements to your lantern if desired. You could tie a ribbon or twine around the top of the jar, attach stickers or charms, or even paint designs onto the paper.
Step 6: Insert the Candle
Once the glue is dry and any additional decorations are added, place a tea light candle or LED candle inside the jar. Make sure it’s positioned securely and won’t tip over.
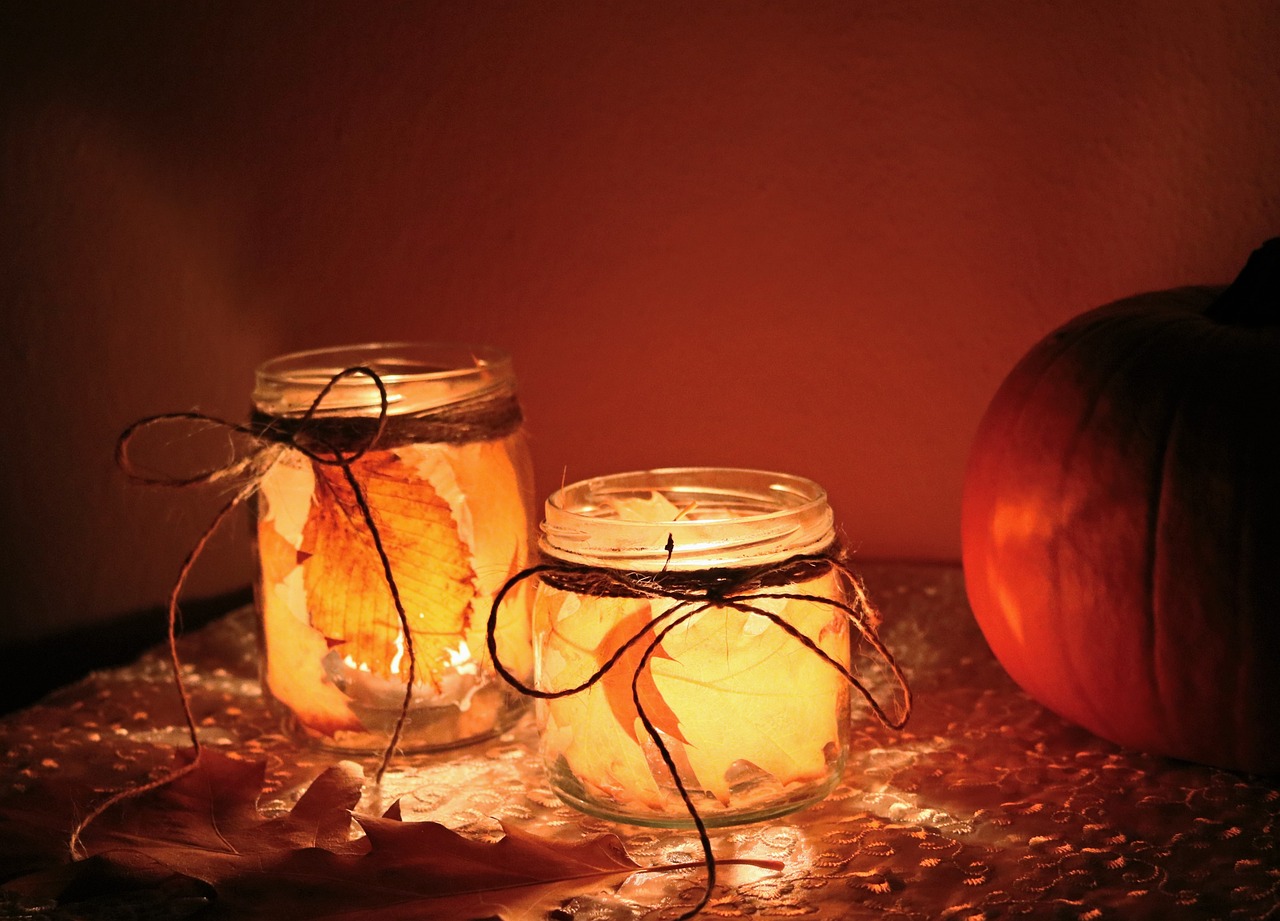
Step 7: Let There Be Light!
Light your candle and enjoy the warm, cozy glow of your homemade lantern! You can place it on a tabletop, hang it from a tree branch outdoors, or use it to decorate any space in your home.
Safety Tips:
- If using a real flame, never leave your lantern unattended while lit.
- Keep the lantern away from flammable materials and surfaces.
- Consider using LED candles for a safer alternative, especially around children or pets.
Now, let your creativity shine and illuminate your surroundings with your beautiful DIY lantern!


